Inviting Accounts
Qocent allows you to invite other Qocent users — team members or clients — to view and monitor a specific Server Site. The invited person must already have their own Qocent account. They will receive an email invitation, and once they accept, they can see and monitor that site based on the role you assigned.
- 1
Go to Your Server Site
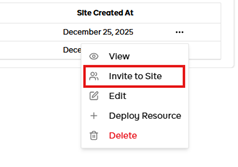
Log in to your Qocent account and navigate to your list of Server Sites. Find the site you want to share, click the three dots (...) next to the site name, and select Invite to Site from the menu.

- 2
Enter the Invitation Details
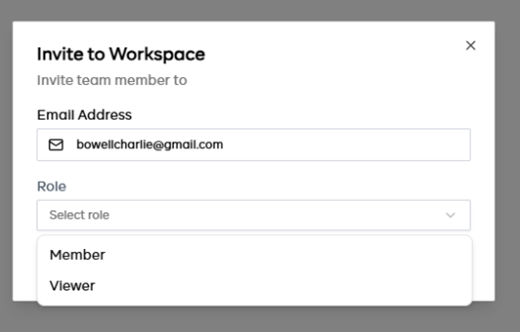
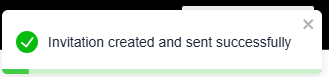
A pop-up window titled Invite to Workspace will appear. Enter the email address of the person you want to invite — this must be the email they used to create their Qocent account. In the Role dropdown, choose their access level: Member (can view and interact) or Viewer (read-only). Click Invite to send. You will see a green confirmation: "Invitation created and sent successfully."
- 3
What the Invitee Receives
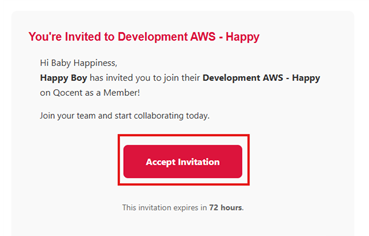
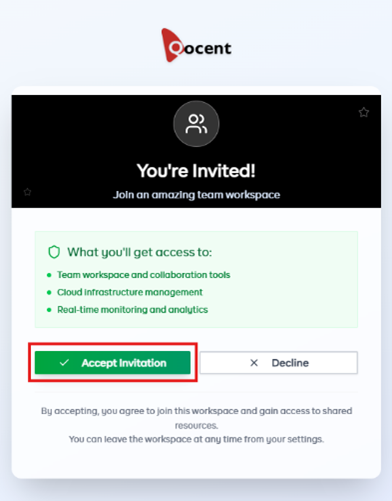
The invited person will receive an email showing who invited them, the site name, and the assigned role. The email contains an Accept Invitation button. The invitation expires in 72 hours. When they click Accept Invitation, they are taken to a Qocent page explaining what they will have access to. They must click the green Accept Invitation button on that page to confirm.
- 4
After Accepting
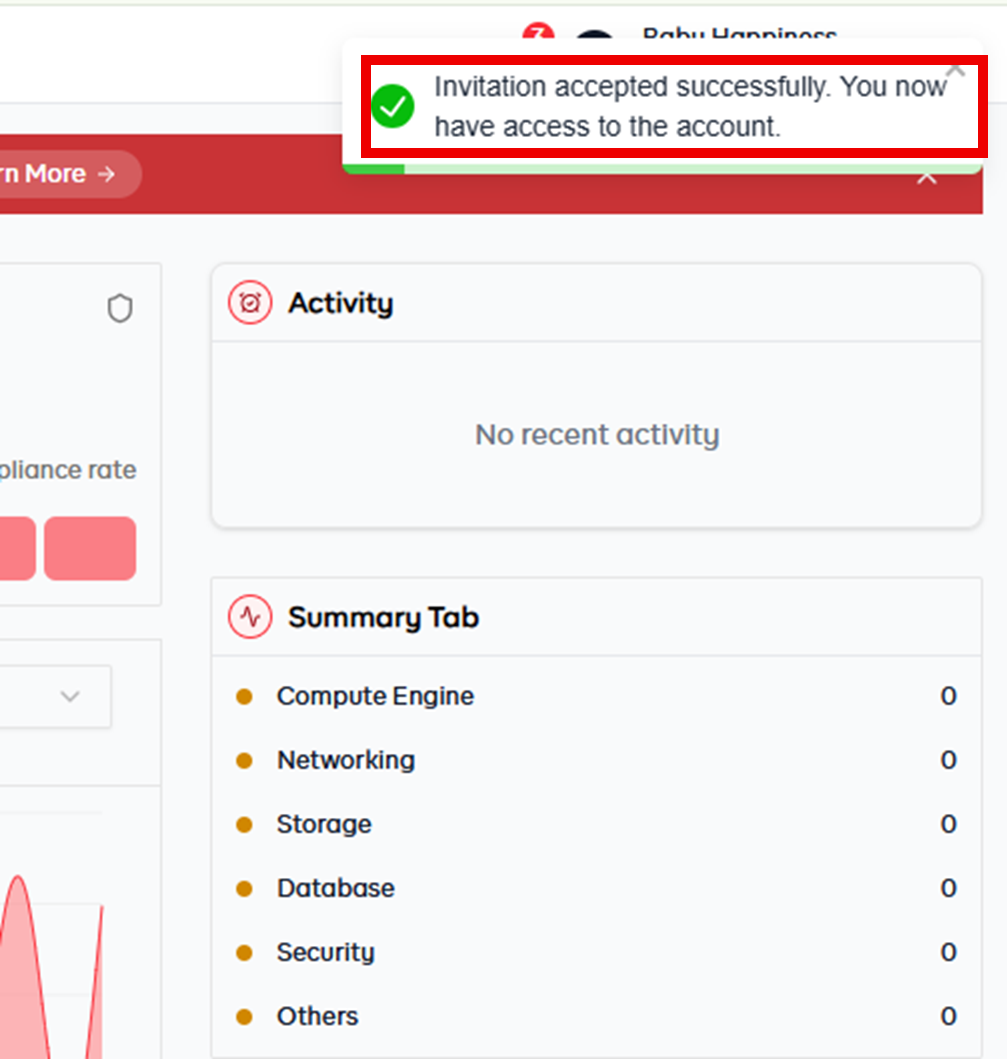
Once they accept, they will see: "Invitation accepted successfully. You now have access to the account." The shared Server Site will immediately appear on their dashboard, and they can begin monitoring it based on the role assigned.